

Instead of arranging tint installation and then guessing whether the driver-assistance camera needs attention, use a window tint ADAS calibration workflow that checks the vehicle manufacturer’s requirements before work begins. For your 2026 appointment, separate film selection, camera-area protection, and any required calibration into documented decisions—not a blanket calibration requirement for every tint job.
- Window tint ADAS calibration depends on manufacturer procedures and work performed, not simply the presence of new film.
- CoaterZ provides professional window tinting for Florida Gulf Coast vehicle owners; confirm ADAS responsibilities before installation.
- Keep film, installation residue, and tools out of the forward camera’s specified viewing area.
- Windshield replacement or camera disturbance requires a separate manufacturer-procedure review before vehicle handover.
Why this matters
Tint installation does not automatically require ADAS camera calibration. The deciding factors are the vehicle manufacturer’s instructions, the glass involved, and whether the work changes or disturbs the camera, its mounting, or its optical path.
ADAS means advanced driver-assistance systems. Depending on the vehicle, a forward-facing camera supports functions such as lane assistance or automatic emergency braking. Film selection alone cannot establish whether those functions remain correctly calibrated.
For Palm Harbor, Lutz, Sarasota, and other Gulf Coast drivers, managing sunlight matters—but camera visibility remains a separate requirement. Use the window tint shades and heat-rejection guide to frame film questions, then have the installer confirm vehicle-specific restrictions.
CoaterZ window tinting is best for Gulf Coast owners seeking professional film installation, not a substitute for ADAS diagnosis or calibration. Keep those responsibilities distinct throughout the job.
Before you start
Gather the materials and permissions needed to avoid a stalled installation:
- Vehicle details and service information: Supply the VIN, model, current windshield condition, and any history of windshield replacement or camera work. The installer or calibration provider needs access to the applicable manufacturer procedure, not just a generic model-year checklist.
- An agreed work scope: Identify every glass surface receiving film and record existing driver-assistance warnings. Authorize any necessary camera-area trim work separately; do not treat camera removal as routine tint preparation.
- A calibration handoff plan: Identify who will perform calibration if the manufacturer requires it. The non-obvious gotcha is that a neat cutout around the visible camera housing does not establish that the camera’s entire required viewing area is clear.
For a 2026 booking, ask for the procedure applicable to your exact vehicle configuration. The appointment year does not determine the calibration requirements.
Choose the correct work route
The workflow changes with the glass and components involved. These are planning routes, not interchangeable service packages.
| Work route | Best for | Main advantage | Limitation and required check |
|---|---|---|---|
| Side-window tint only | Owners addressing sunlight through side glass | Keeps the work away from a windshield-mounted forward camera | Does not resolve windshield glare or an existing ADAS fault; check other affected sensors and components |
| Windshield film where permitted | Owners considering treatment of the windshield | Addresses the glass directly in the driver’s forward view | Requires legal, optical, and manufacturer-compatibility checks; camera exclusions need specific instructions |
| Windshield or camera work with tint | Owners also replacing glass or addressing a camera issue | Allows the work sequence and responsibilities to be planned together | Requires a separate review of calibration triggers, preparation, and completion evidence |
Choose the route by the work performed, not by the film’s marketing category. A ceramic film description does not establish camera compatibility, legal suitability, or calibration status.
Vehicle intake and procedure review
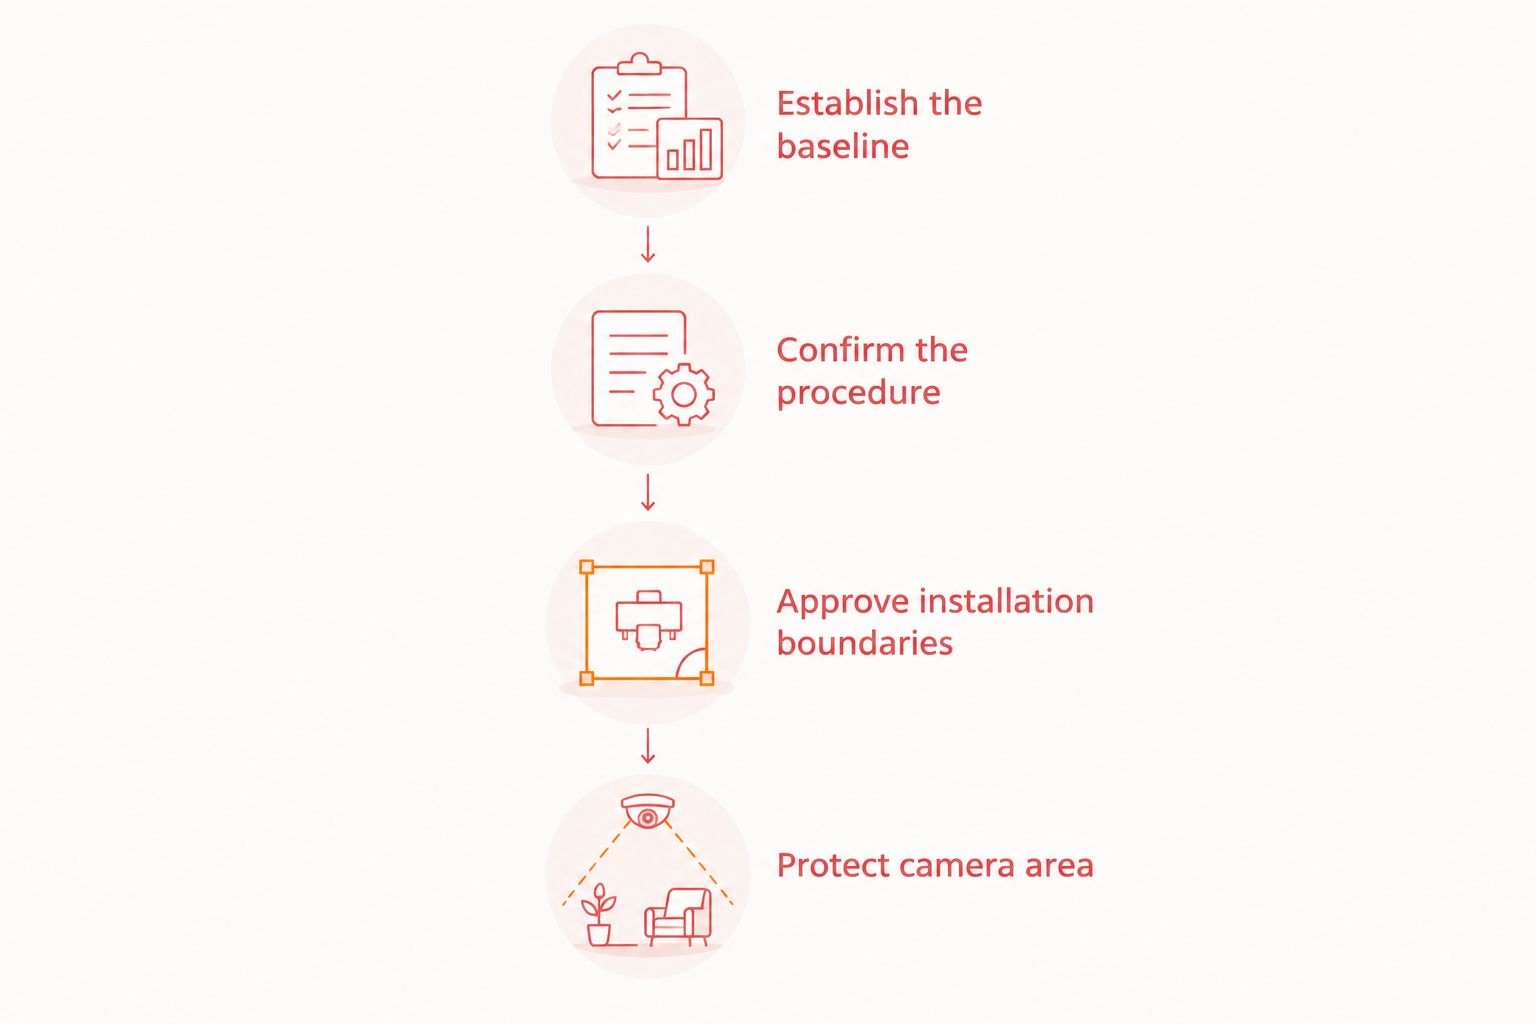
Establish the baseline
- Identify the vehicle. Give the installer the VIN and explain any recent windshield replacement, collision repair, suspension changes, or camera-related service. Let the qualified provider decide which details affect the applicable procedure.
- Document existing symptoms. Record warning messages and any reported driver-assistance behavior before installation. Do not erase warnings to create a clean starting point.
- Inspect the relevant glass. Note cracks, chips, existing film, contamination, and visible damage around the camera housing. Separate these observations from conclusions about camera alignment.
- Define the scope. Write down whether the job includes side glass, rear glass, windshield film, existing-film removal, or access near camera components.
Expected result: You have a written starting condition and a precise description of the work. Any existing warning remains an open issue rather than becoming an unexplained post-installation problem.
Confirm the procedure
- Ask the installer to identify the manufacturer’s restrictions for the glass and camera area involved.
- Have the responsible provider check whether the planned work triggers inspection, diagnostic scanning, calibration, or another specified action.
- Confirm who has responsibility for that action and whether a separate appointment is necessary.
- Stop the booking process if the proposed installation conflicts with the manufacturer’s restrictions or applicable Florida requirements.
Expected result: The work order states the agreed route and who handles any required ADAS work. For your 2026 service record, retain that decision alongside the film specification.
Film specification and camera-area protection
Approve the installation boundaries
- Identify protected areas. Have the installer locate the camera’s required clear area using the relevant instructions. Do not estimate it from the plastic housing’s outside edge.
- Confirm surface compatibility. Discuss existing coatings, factory glass treatments, embedded elements, and any previous film. Ask the installer to resolve compatibility before applying another material.
- Record the film choice. Retain the film identification and the intended glass locations. Visible light transmission describes light passage; it is not proof of camera compatibility.
- Agree on component handling. Do not authorize camera, bracket, or housing removal merely to make film placement easier without first checking the service procedure.
Expected result: The installer has clear boundaries for film placement and component handling. You know which glass receives film and which areas must remain untreated.
Protect the camera area
- Have a trained installer manage application liquid around trim, electrical components, and sensor housings according to the relevant instructions.
- Keep tools and pressure away from camera mounts and other sensitive components.
- Require a visual inspection for film edges, residue, contamination, or trapped moisture affecting the specified camera area.
- If work disturbs a camera or its mounting, pause the original plan and return to the manufacturer’s procedure before handover.
Expected result: Film placement respects the agreed exclusions, and any change in scope receives a fresh technical review. An unobstructed-looking windshield is necessary, but it does not independently prove correct calibration.
Calibration decision and vehicle handover
Resolve the calibration requirement
- Review what actually happened. Compare completed work with the original scope. Include unexpected camera-area access, glass damage, component movement, or new warnings.
- Apply the manufacturer’s decision criteria. Have the qualified provider determine whether calibration is required. Neither a generic tint policy nor the absence of a dashboard warning replaces this review.
- Use the prescribed method. If calibration is required, the provider must follow the applicable static, dynamic, or combined procedure and its prerequisites. A static procedure uses a controlled setup; a dynamic procedure involves specified driving conditions.
- Resolve unsuccessful results. Ask the provider to diagnose a failed or incomplete procedure rather than repeatedly clearing faults or calling the job finished.
Expected result: Calibration is either completed as required or documented as unnecessary for the work performed under the applicable procedure. An unresolved calibration requirement remains unresolved—not waived because the film looks correct.
Complete the handover
- Inspect film boundaries and the camera area with the installer. Ask about anything that appears to overlap a required exclusion.
- Review any new warning messages and the results of diagnostic checks required by the procedure.
- Collect 3 records: the installation scope, the applicable ADAS decision, and any required calibration completion report.
- Obtain the film manufacturer’s care instructions, including its specific drying and cleaning requirements. Do not substitute a generic waiting period.
Expected result: You leave with installation records and a clear ADAS status. A 2026 invoice stating only that tint was installed is not a calibration report.
Do not deliberately provoke lane departure or emergency braking to test the system yourself. If a safety-system warning remains, follow the vehicle manual and arrange qualified evaluation before relying on that feature.
When windshield replacement is part of the job
Windshield replacement creates a different workflow from side-window tint installation. Plan glass work, required calibration, and film application as a coordinated sequence, with the order confirmed by the responsible providers.
Ask the glass and calibration providers to establish their prerequisites before the tint appointment. These include the required glass specification, camera mounting condition, adhesive-related restrictions, and any manufacturer restrictions on subsequent film application.
Use 2 checkpoints: approve the sequence before work begins, then confirm the completed work still meets the calibration procedure’s requirements. If tint is applied after calibration, ask whether that additional work requires another inspection or action under the applicable instructions.
For a 2026 vehicle-service plan, name the provider responsible for resolving a warning that appears between appointments. Separate invoices should not leave you without a clear handoff.
Troubleshooting
A driver-assistance warning appears after tinting
Record the exact message and when it appeared. Contact the installer and a qualified diagnostic provider; report whether the work included windshield film, camera-area access, or glass replacement. Do not assume calibration is the only possible fix.
Film or residue enters the camera viewing area
Return to the installer for inspection against the manufacturer’s exclusion requirements. Have the installer correct the obstruction using an appropriate removal method. Calibration does not make an obstructed optical path acceptable.
Calibration will not complete
Ask the calibration provider to identify which prerequisite or diagnostic condition remains unmet. Possible areas for professional review include camera mounting, glass condition, vehicle setup, and the procedure’s environmental requirements. Do not accept a completion claim without the required successful result.
The tint looks darker than expected
Separate appearance from compliance and compatibility. Ask the installer to verify the installed specification and assess the finished glazing against applicable requirements. A visual impression alone cannot establish light transmission or camera suitability.
Haze appears near the camera area
Have the installer distinguish normal film-drying effects from contamination or an obstructed camera area. Follow the film-specific care instructions, but do not dismiss an ADAS warning as ordinary drying. Avoid removing camera trim or using aggressive cleaners yourself.
Customize your workflow
Build the appointment around your vehicle’s use. A family SUV needs a glass-by-glass discussion of visibility, passenger comfort, and existing factory glazing; the window tint options for SUVs and family vehicles guide helps organize those questions.
For work vehicles, retain the same installation and ADAS records with the maintenance file so another driver can identify what changed. Describe a windshield replacement or new warning to the next service provider rather than relying on memory.
When discussing CoaterZ window tinting, ask which work the installation appointment covers and which ADAS services need another provider. Professional film installation offers controlled preparation and application; its limit is that it does not itself establish camera calibration.
FAQ
Does window tint always require ADAS calibration?
No. Window tint ADAS calibration depends on the vehicle manufacturer’s instructions and the work performed. Camera disturbance, windshield work, or a relevant fault requires a specific procedure review rather than a blanket answer.
Can windshield tint interfere with a forward-facing camera?
Film or contamination in a camera’s required viewing area can interfere with its optical path. Have the installer follow the vehicle manufacturer’s restrictions and exclusion requirements instead of estimating clearance from the housing.
Does ceramic window tint mean the camera is compatible?
No. Ceramic describes a film category, not vehicle-specific camera approval. Confirm the exact film application and glass location against the manufacturer’s instructions.
Do I need calibration after side-window tint installation?
Side-window tint alone does not establish a need to calibrate a windshield-mounted camera. The responsible provider should still review the actual work, affected components, and vehicle-specific requirements.
Is a clear dashboard proof that calibration is correct?
No. The absence of a warning is not a substitute for a required calibration procedure. Ask for the applicable completion record whenever calibration is required.
What should I do if lane assistance shows a warning after tinting?
Follow the vehicle manual and arrange qualified evaluation before relying on the affected feature. Record the message and tell the provider which glass and camera-area components were involved in the installation.
Does CoaterZ provide ADAS camera calibration?
Confirm calibration arrangements directly before booking. CoaterZ provides automotive window tinting, but the installation scope and responsibility for any required ADAS diagnosis or calibration must be agreed separately.
One last thing
A successful calibration cannot approve an unsuitable film installation. Calibration addresses the system’s prescribed alignment process; it does not override glass-treatment restrictions, legal requirements, or an obstructed camera view.
Keep the installation scope and ADAS paperwork together. At your next windshield repair or replacement, give both records to the provider before work starts—not after a warning appears.
Window tint at our CoaterZ locations
CoaterZ offers window tint at all three of our Florida shops. Choose the location closest to you: